Vertical Bandsaw
Last updated January 9, 2024
Attention
WEAR SAFETY GOGGLES and Ear Protection
Instructions
If the glove gets caught in the blade your whole hand can be dragged in
Note
Note: Keep the workspace clean and free from debris to prevent accidents
Mark your margins with a marker
Pro tip: Inner side of the mark should be aligned on the ruler
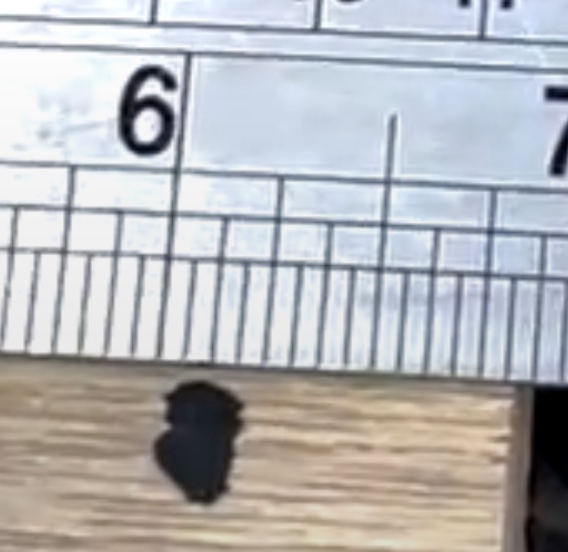
(Mark at two places at the far edges)
Then, connect the two dots (geometry!!!) to form a line
Set up the “guiding fence” and the Table
Adjust the fence to the desired cutting width, ensuring it is parallel to the blade
Pro tip: use a straight side
Set the table height to match the material thickness for a stable and accurate cut
Mark the Cut
Double check: Avoid wearing loose clothing or accessories that could get caught in the machine
Align the saw with the line
Turn on the machine by pressing the green switch (located around your waist lvl)
Hold the material firmly against the fence and table while keeping your hands a safe distance away from the blade
Pro tip: Grab a wooden block to assist you with feeding the material
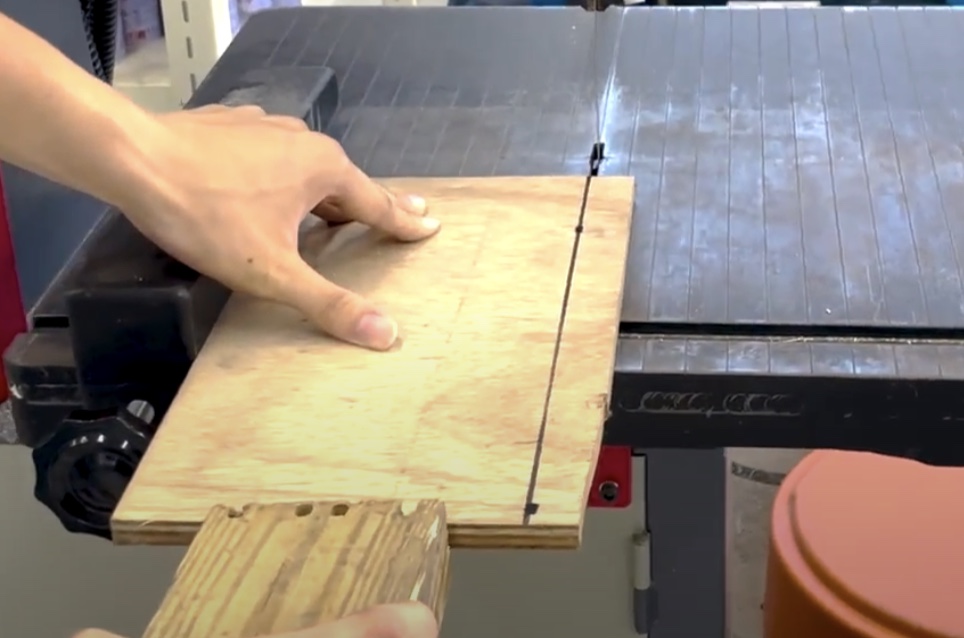
Slowly feed the material into the blade, maintaining a steady and even pace
Caution
Caution: Make sure you alert people around you that you are sawing
Caution
Caution: Keep your fingers and hands away from the blade path at all times
Caution
Caution: Do not leave the bandsaw unattended while it’s running
Let the blade do the cutting without forcing the material
When you are through the material, press the red switch next to the green switch
Post-Cut
After completing the cut, turn off the bandsaw and wait for the blade to come to a complete stop before removing the material
Pro tip: You might want to sand the edges only a little bit
ASK IF YOU HAVE ANY QUESTIONS!!!!